Netsuite
Overview
This doc outlines how to use the Netsuite connector to manage your data synchronization with Netsuite.
Setup
Create connector
From the settings panel or from the node catalog, search for the Netsuite integration and navigate to the 'create connector' view.
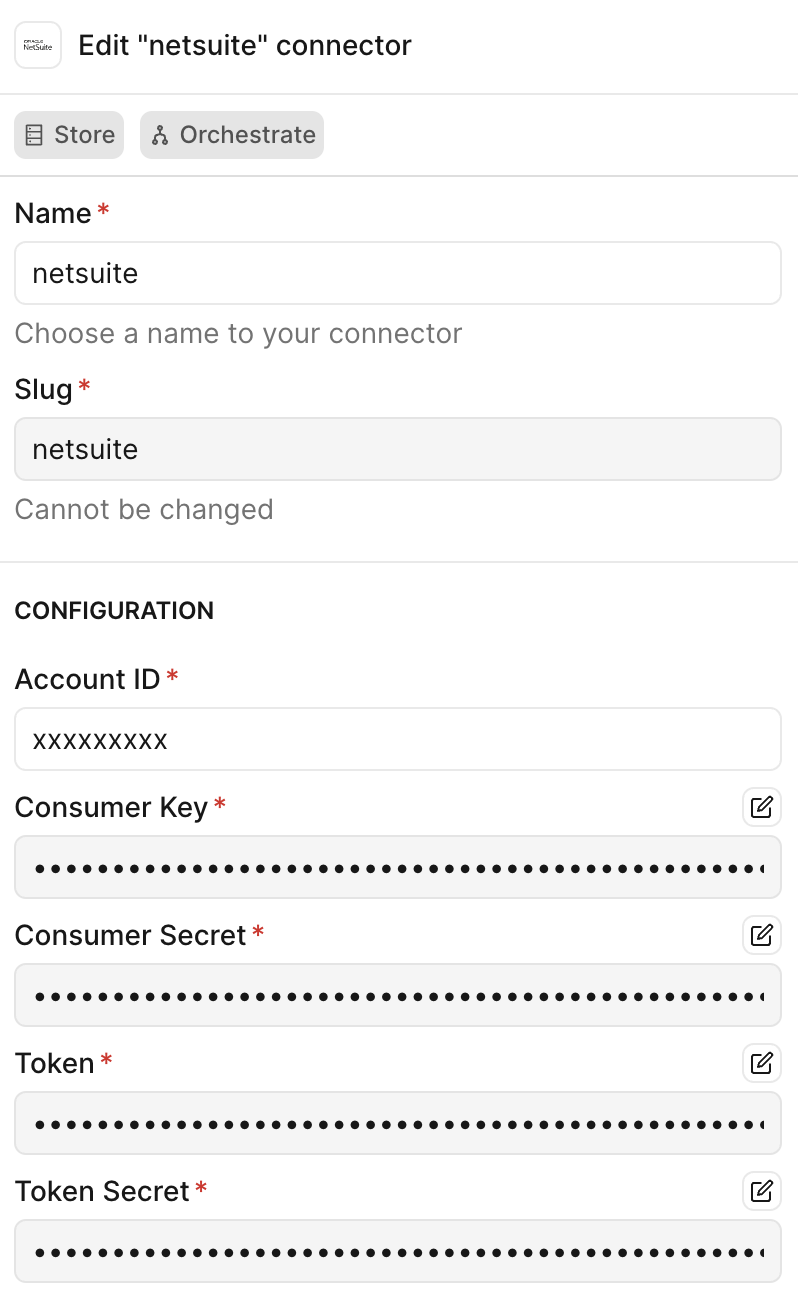
Configure the connector
Enter your consumer key / client ID and consumer secret / client secret into the dedicated fields.
Create an integration
- Go to setup > integration > manage integrations.
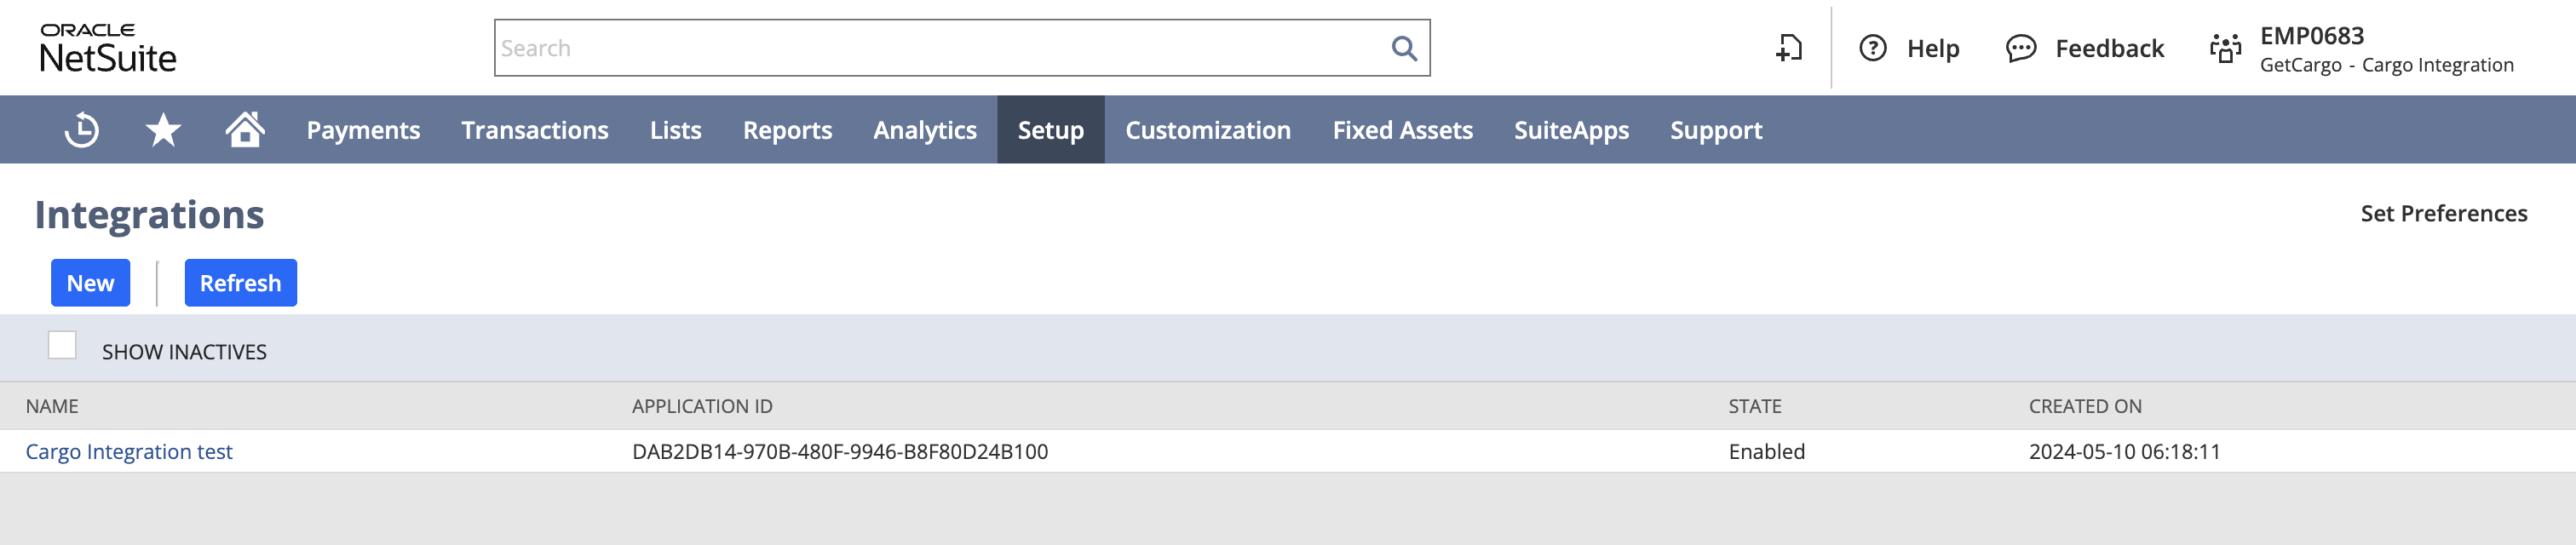
- Click new to create a new integration with the following properties:
- Name: "Cargo integration"
- State: enabled
- Check token-based authentication
- Uncheck TBA: authorization flow and authorization code grant
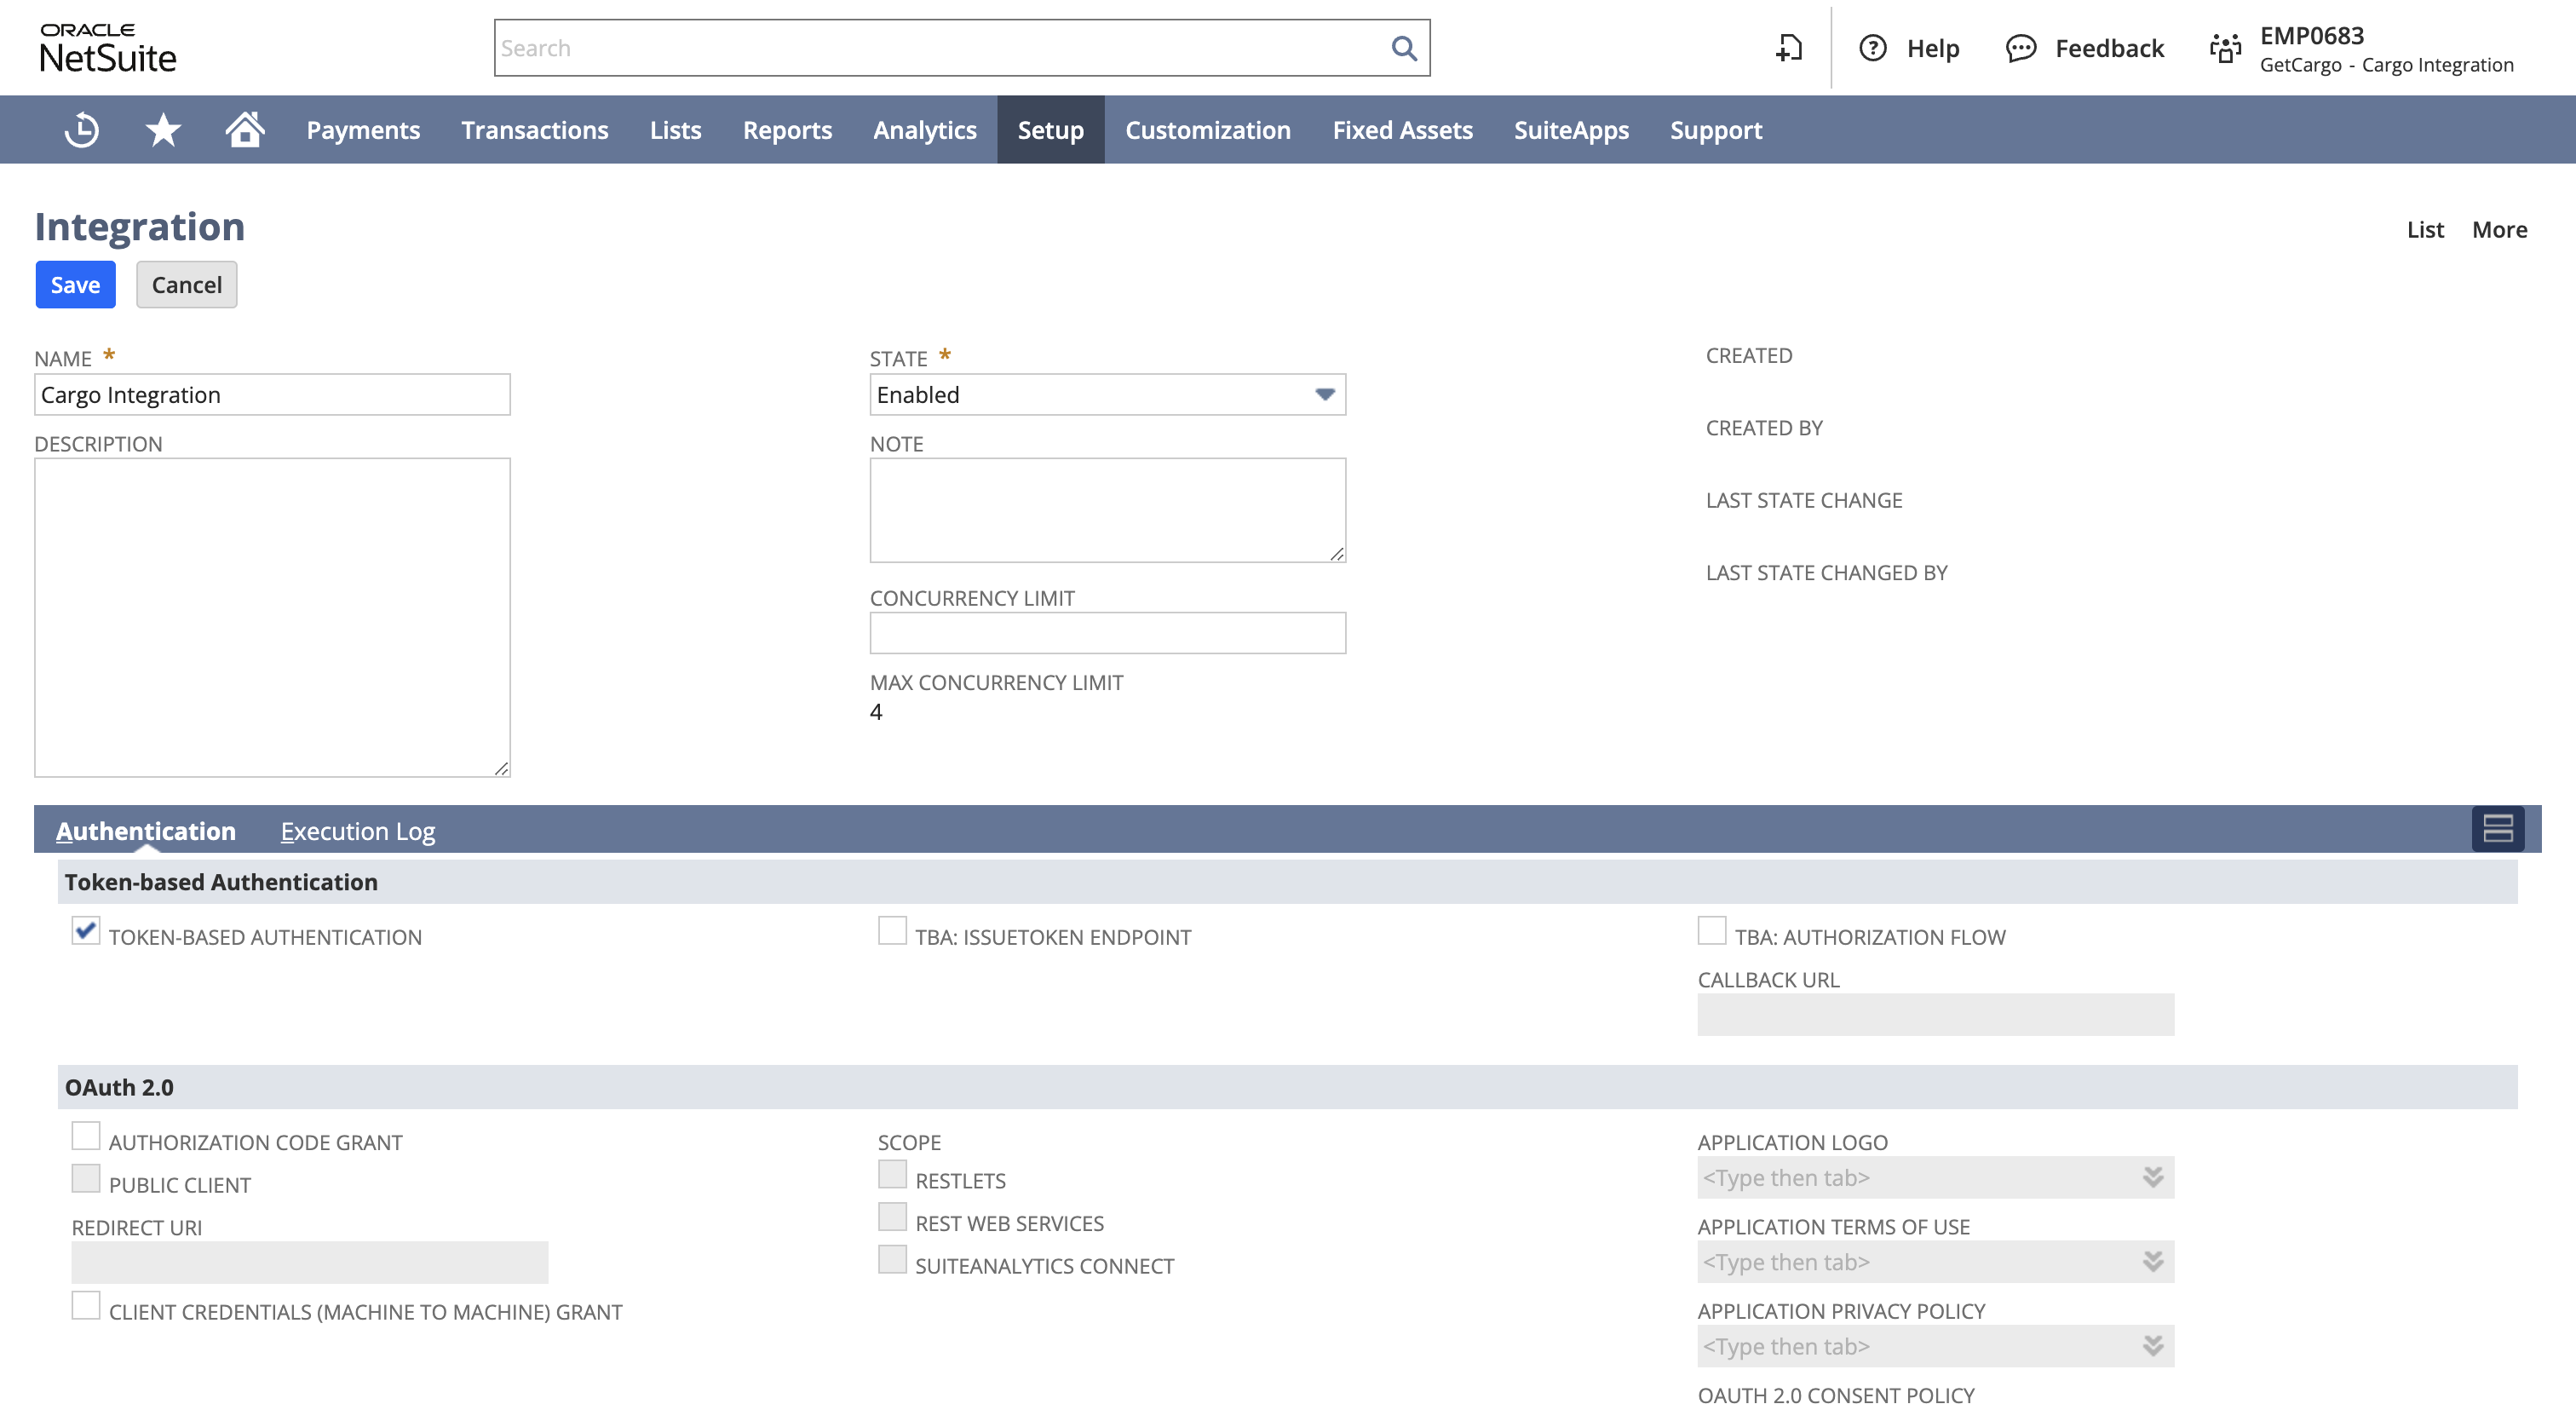
- Scroll down to client credentials and copy the consumer key / client ID and consumer secret / client secret. Save them securely.

- Click save.
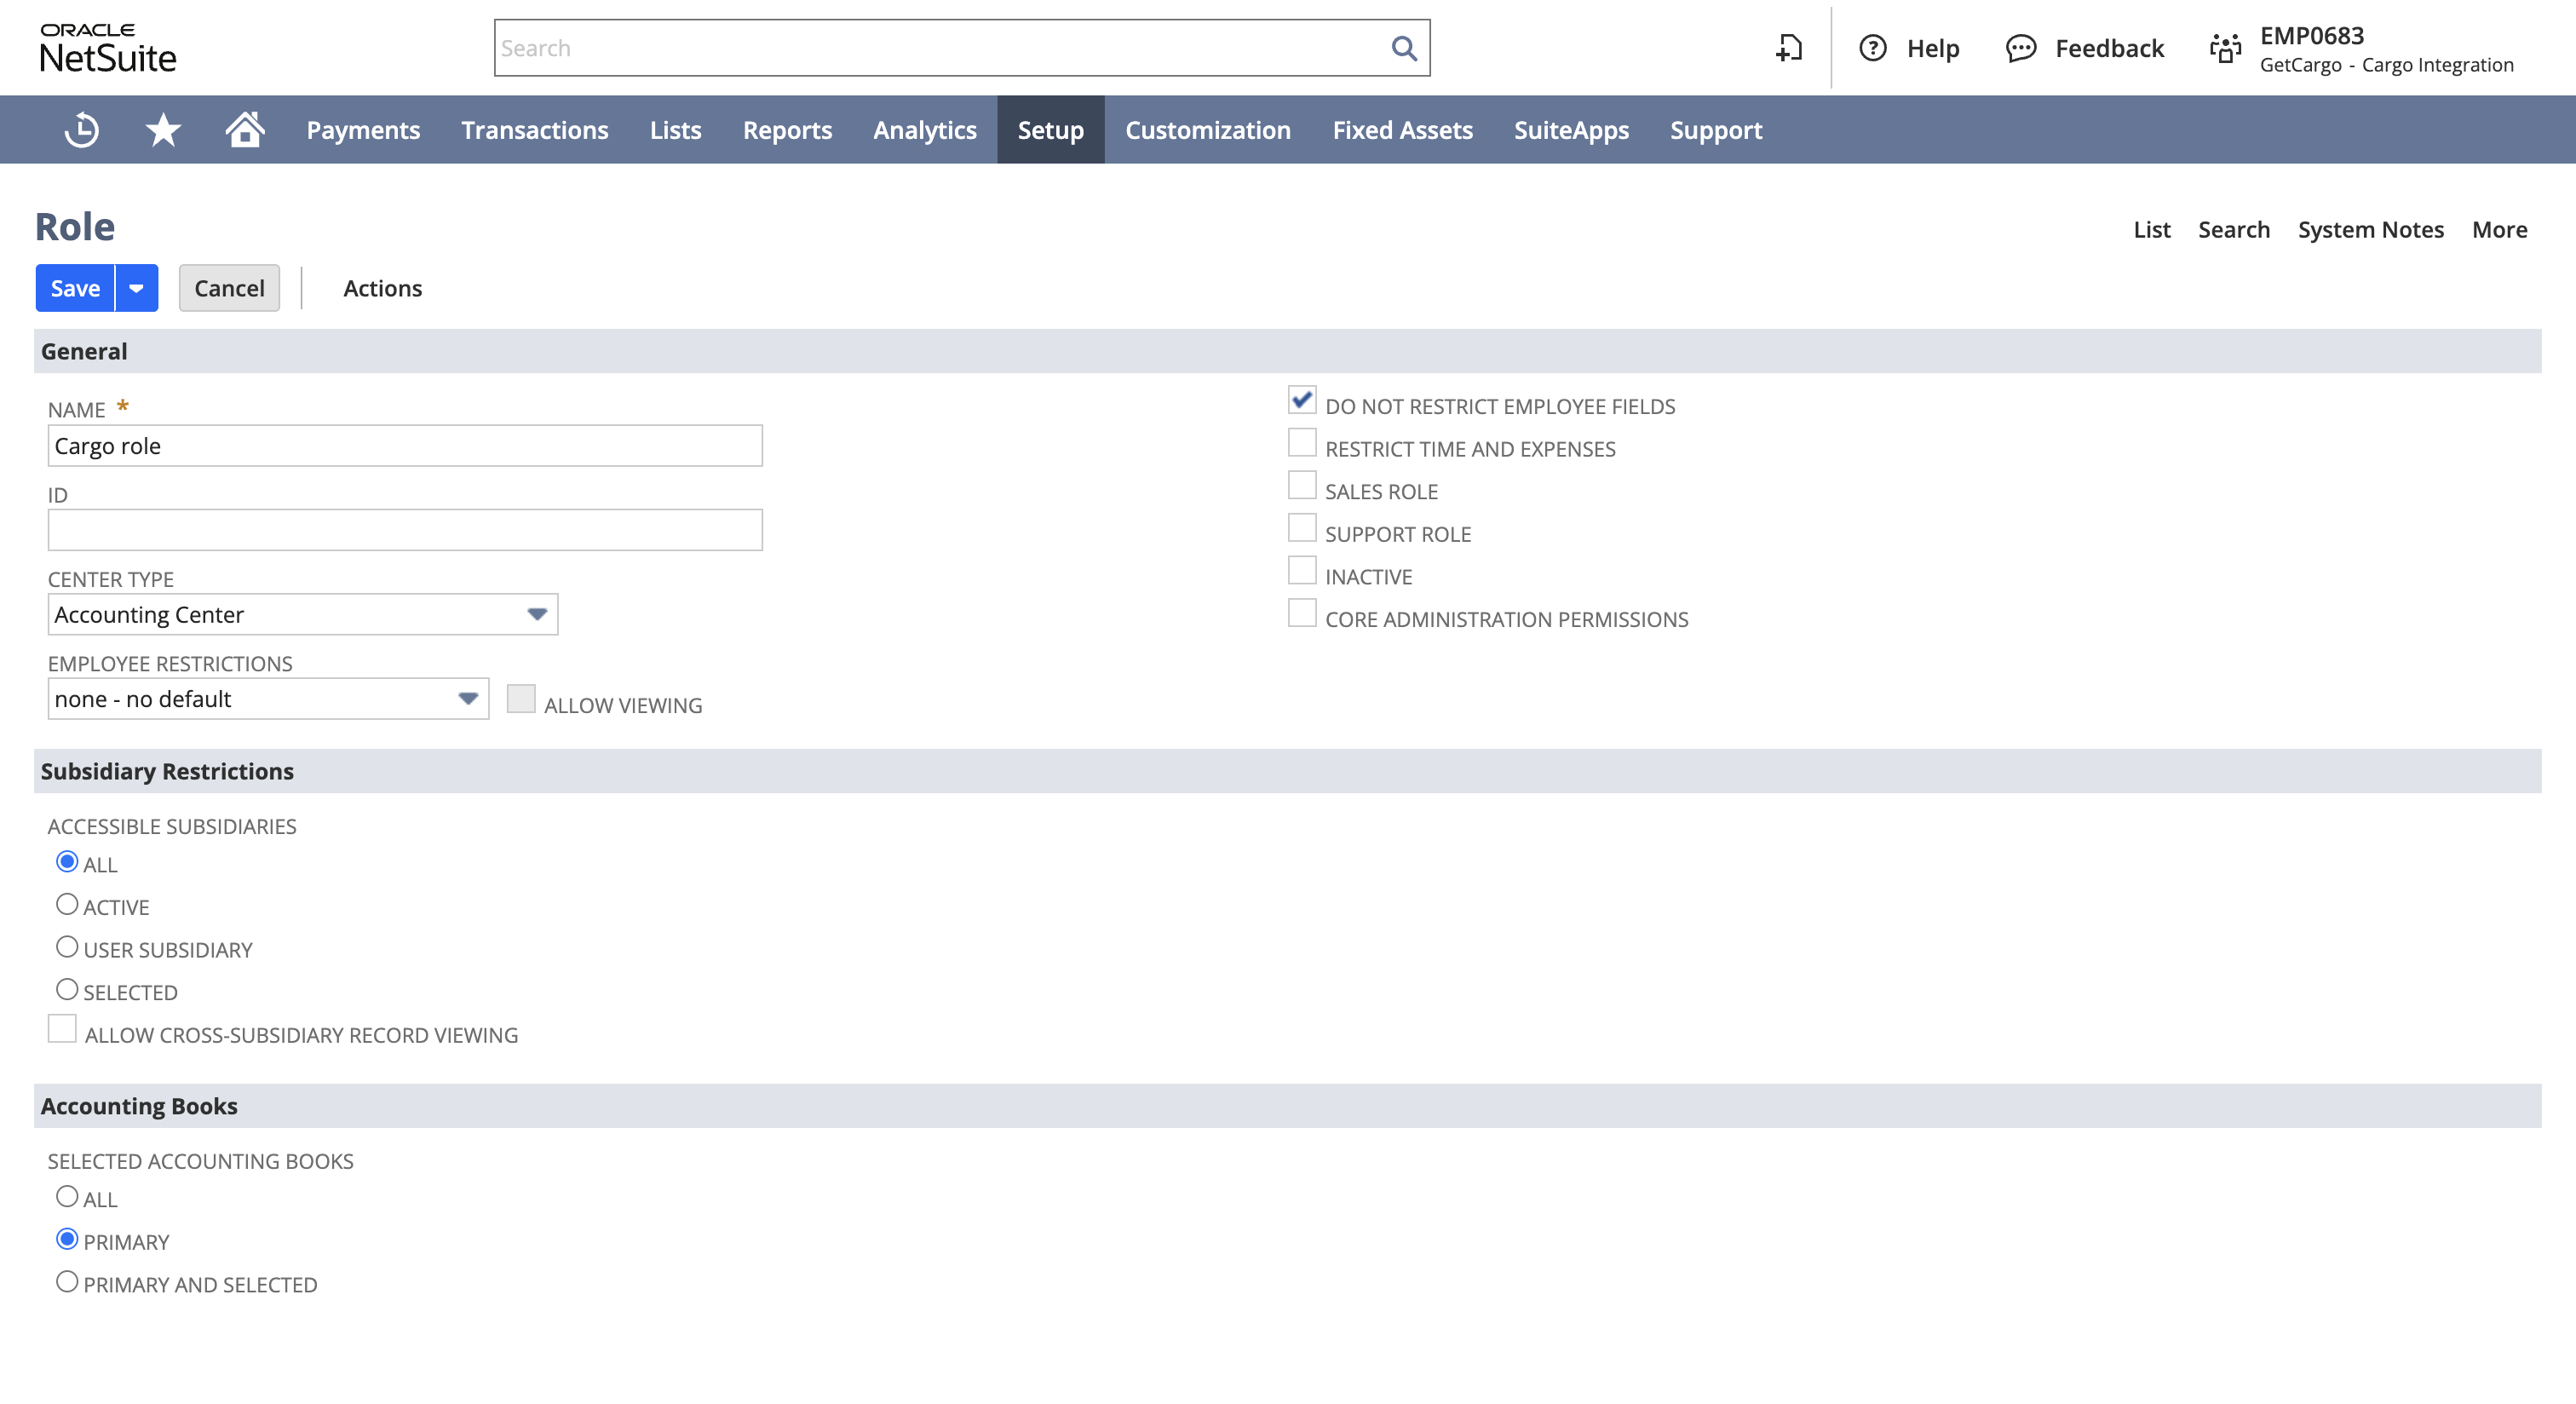
Create a role
- Go to setup > users/roles > manage roles.
- Click new to create a new role with the following properties:
- Name: "Cargo role"
- Check do not restrict employee fields
- For multi-subsidiary NetSuite users, check all under accessible subsidiaries
- Under authentication, check web services only role
- Under permissions > setup, grant the following permissions:
- Access token management: full
- Custom body fields: full
- Custom column fields: full
- Custom entity fields: full
- Custom fields: full
- Custom item fields: full
- REST web services: full
- User access tokens: full
- Under permissions > lists and permissions > transactions, provide full permissions for the NetSuite entities you plan on syncing to.
- Under permissions > lists and permissions > lists, provide full permissions for the NetSuite items you plan on syncing to.
- Under permissions > lists and permissions > reports, provide full permission for SuiteAnalytics workbook.
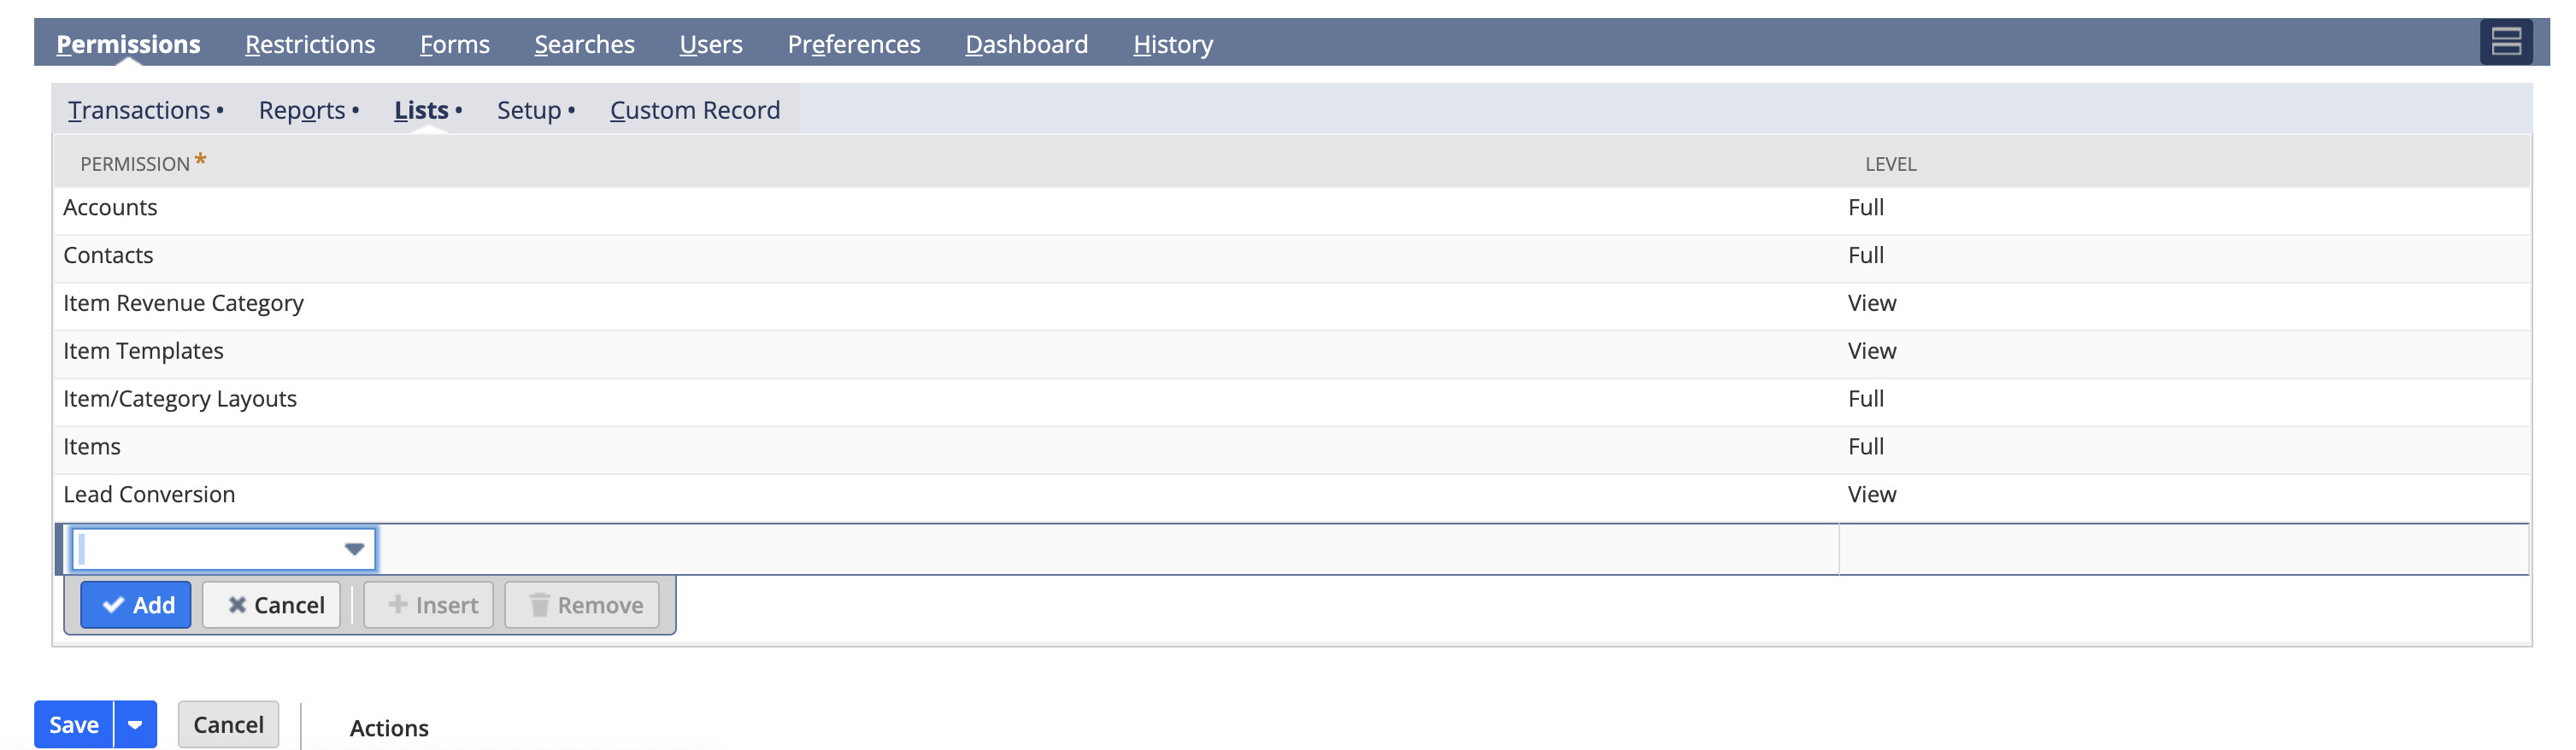
- Click save.
Create a user
- Go to setup > users/roles > manage users.
- Create a new user or select an existing user.
- Fill in the required fields in the employee form.
- On the access tab, check manually assign or change password and assign a secure password.
- Under roles, assign the "Cargo role" you previously created.
- Click save.

Create an access token
- Go to setup > users/roles > access tokens.
- Click new access token.
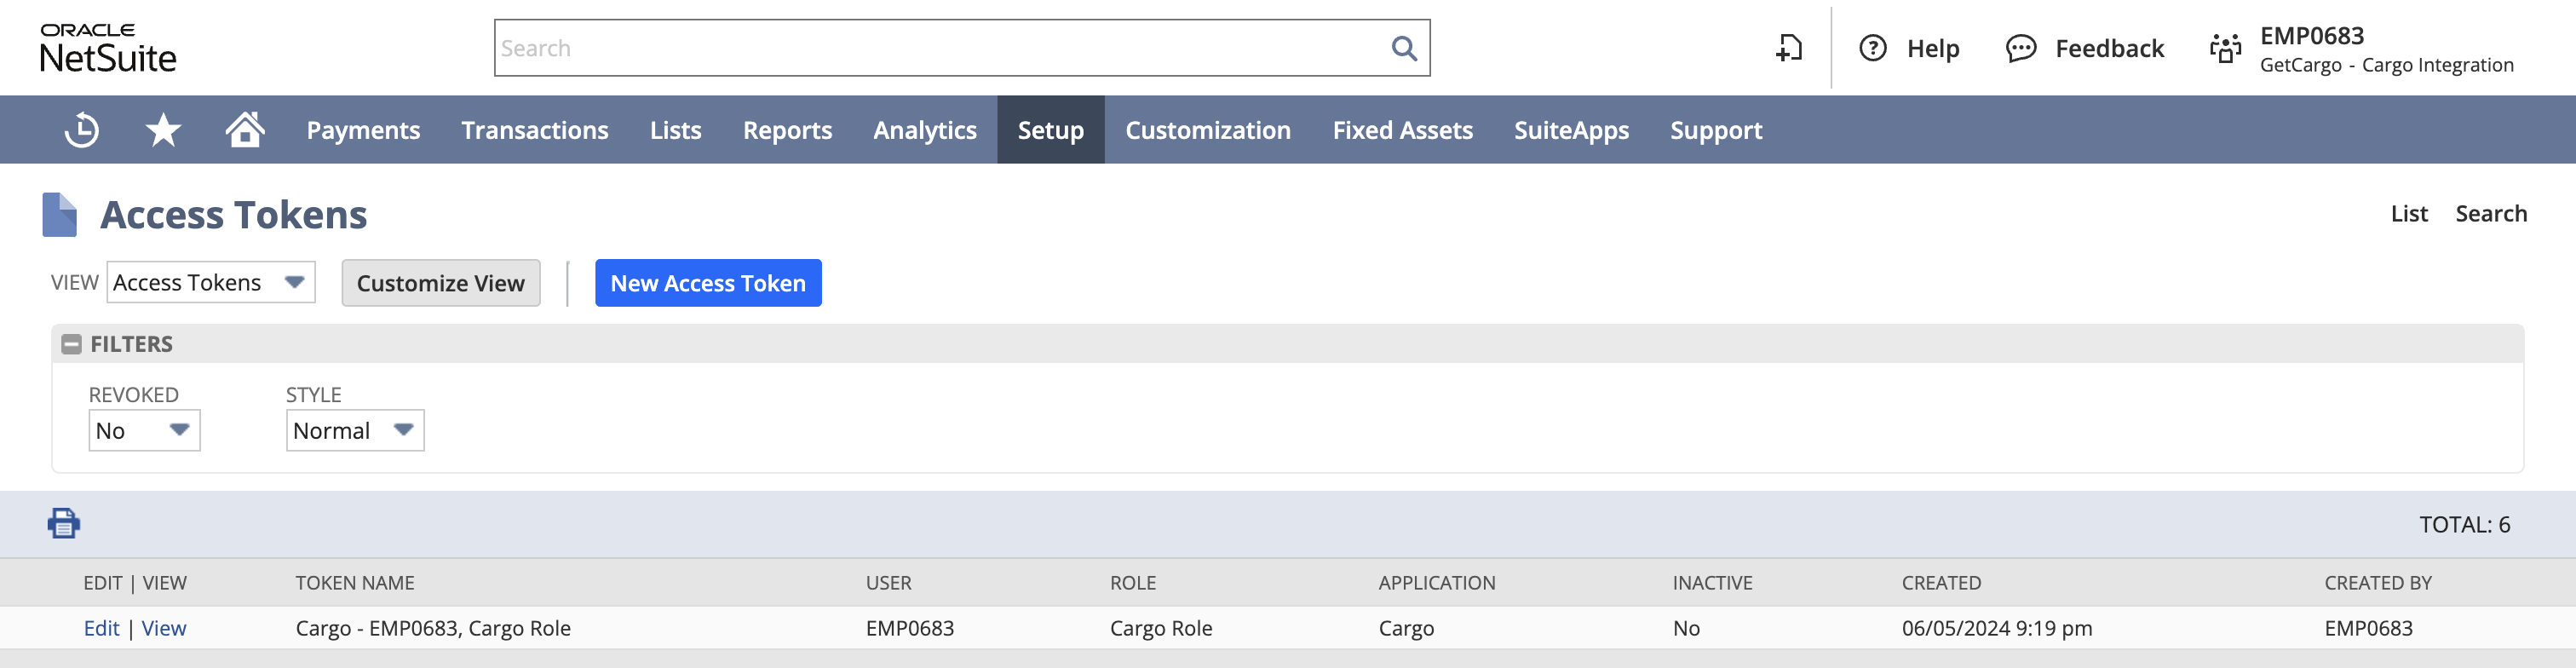
- Select the integration, user, and role you previously configured.
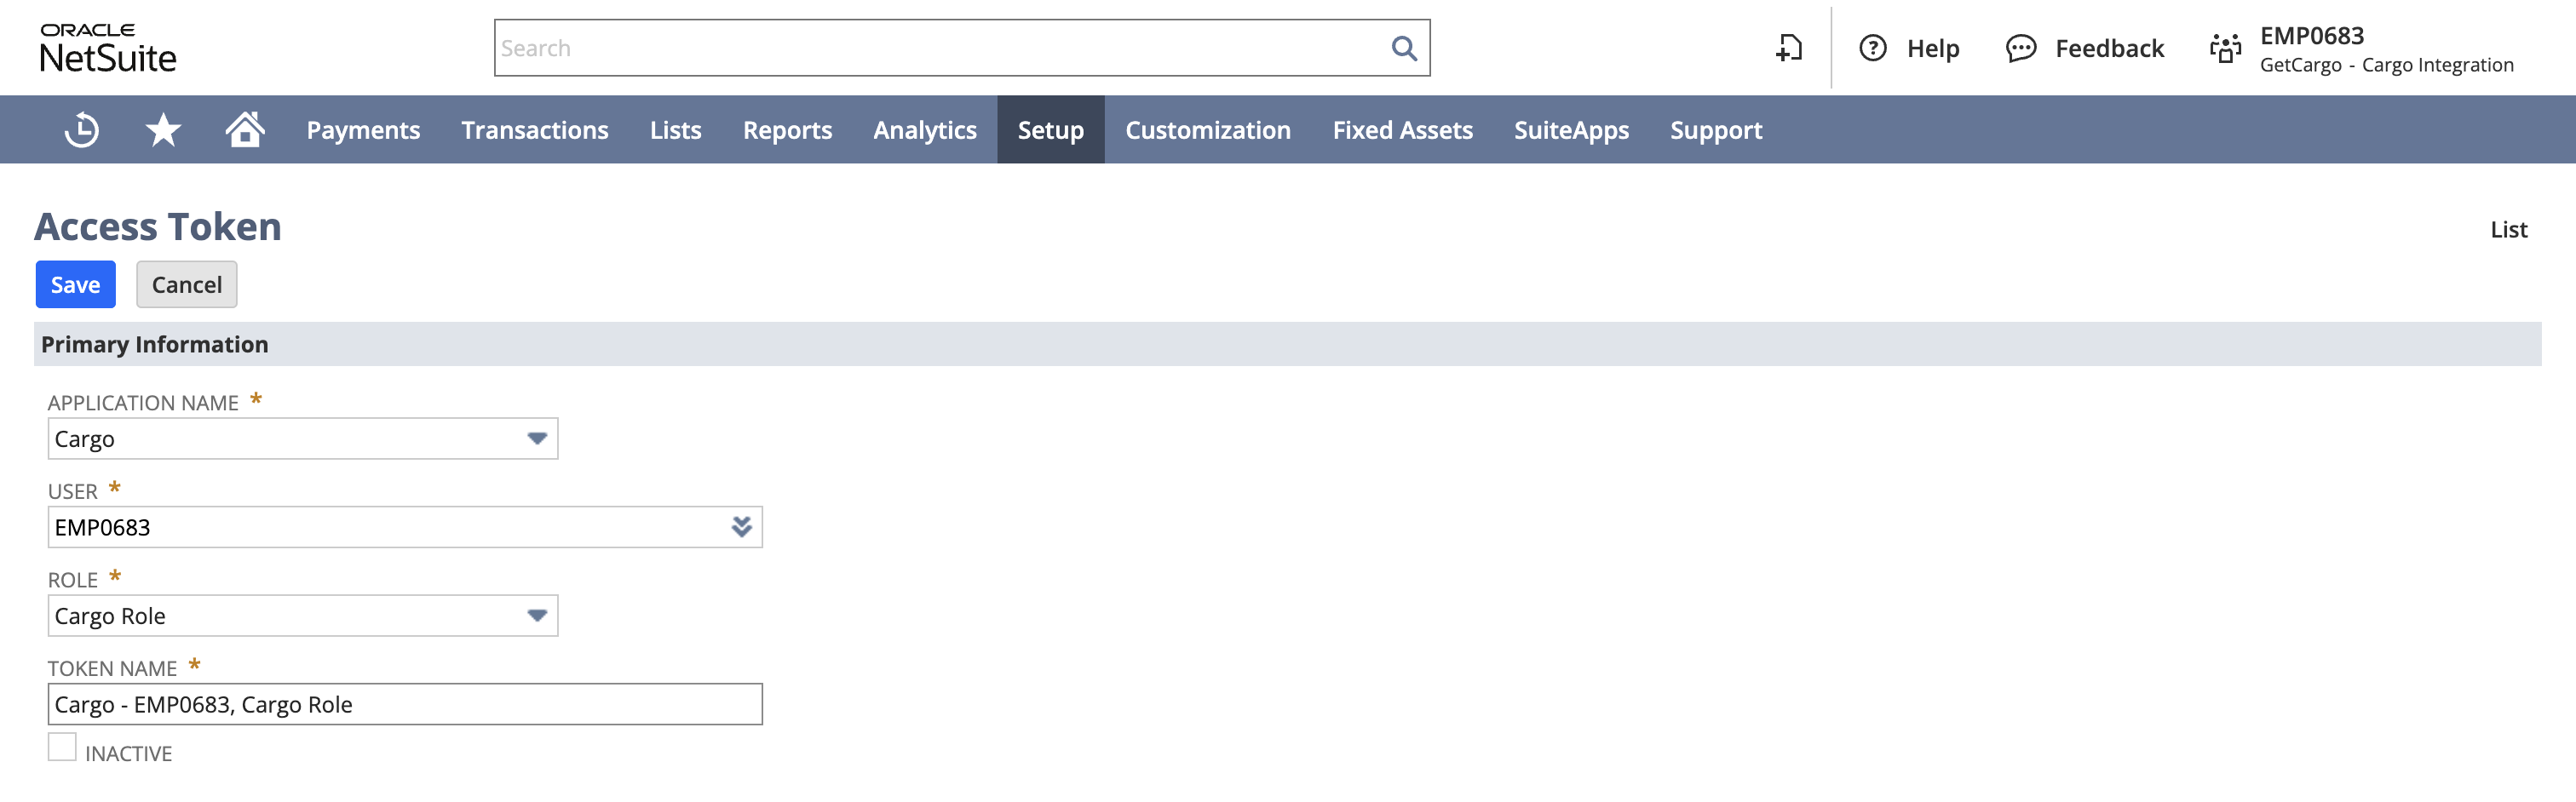
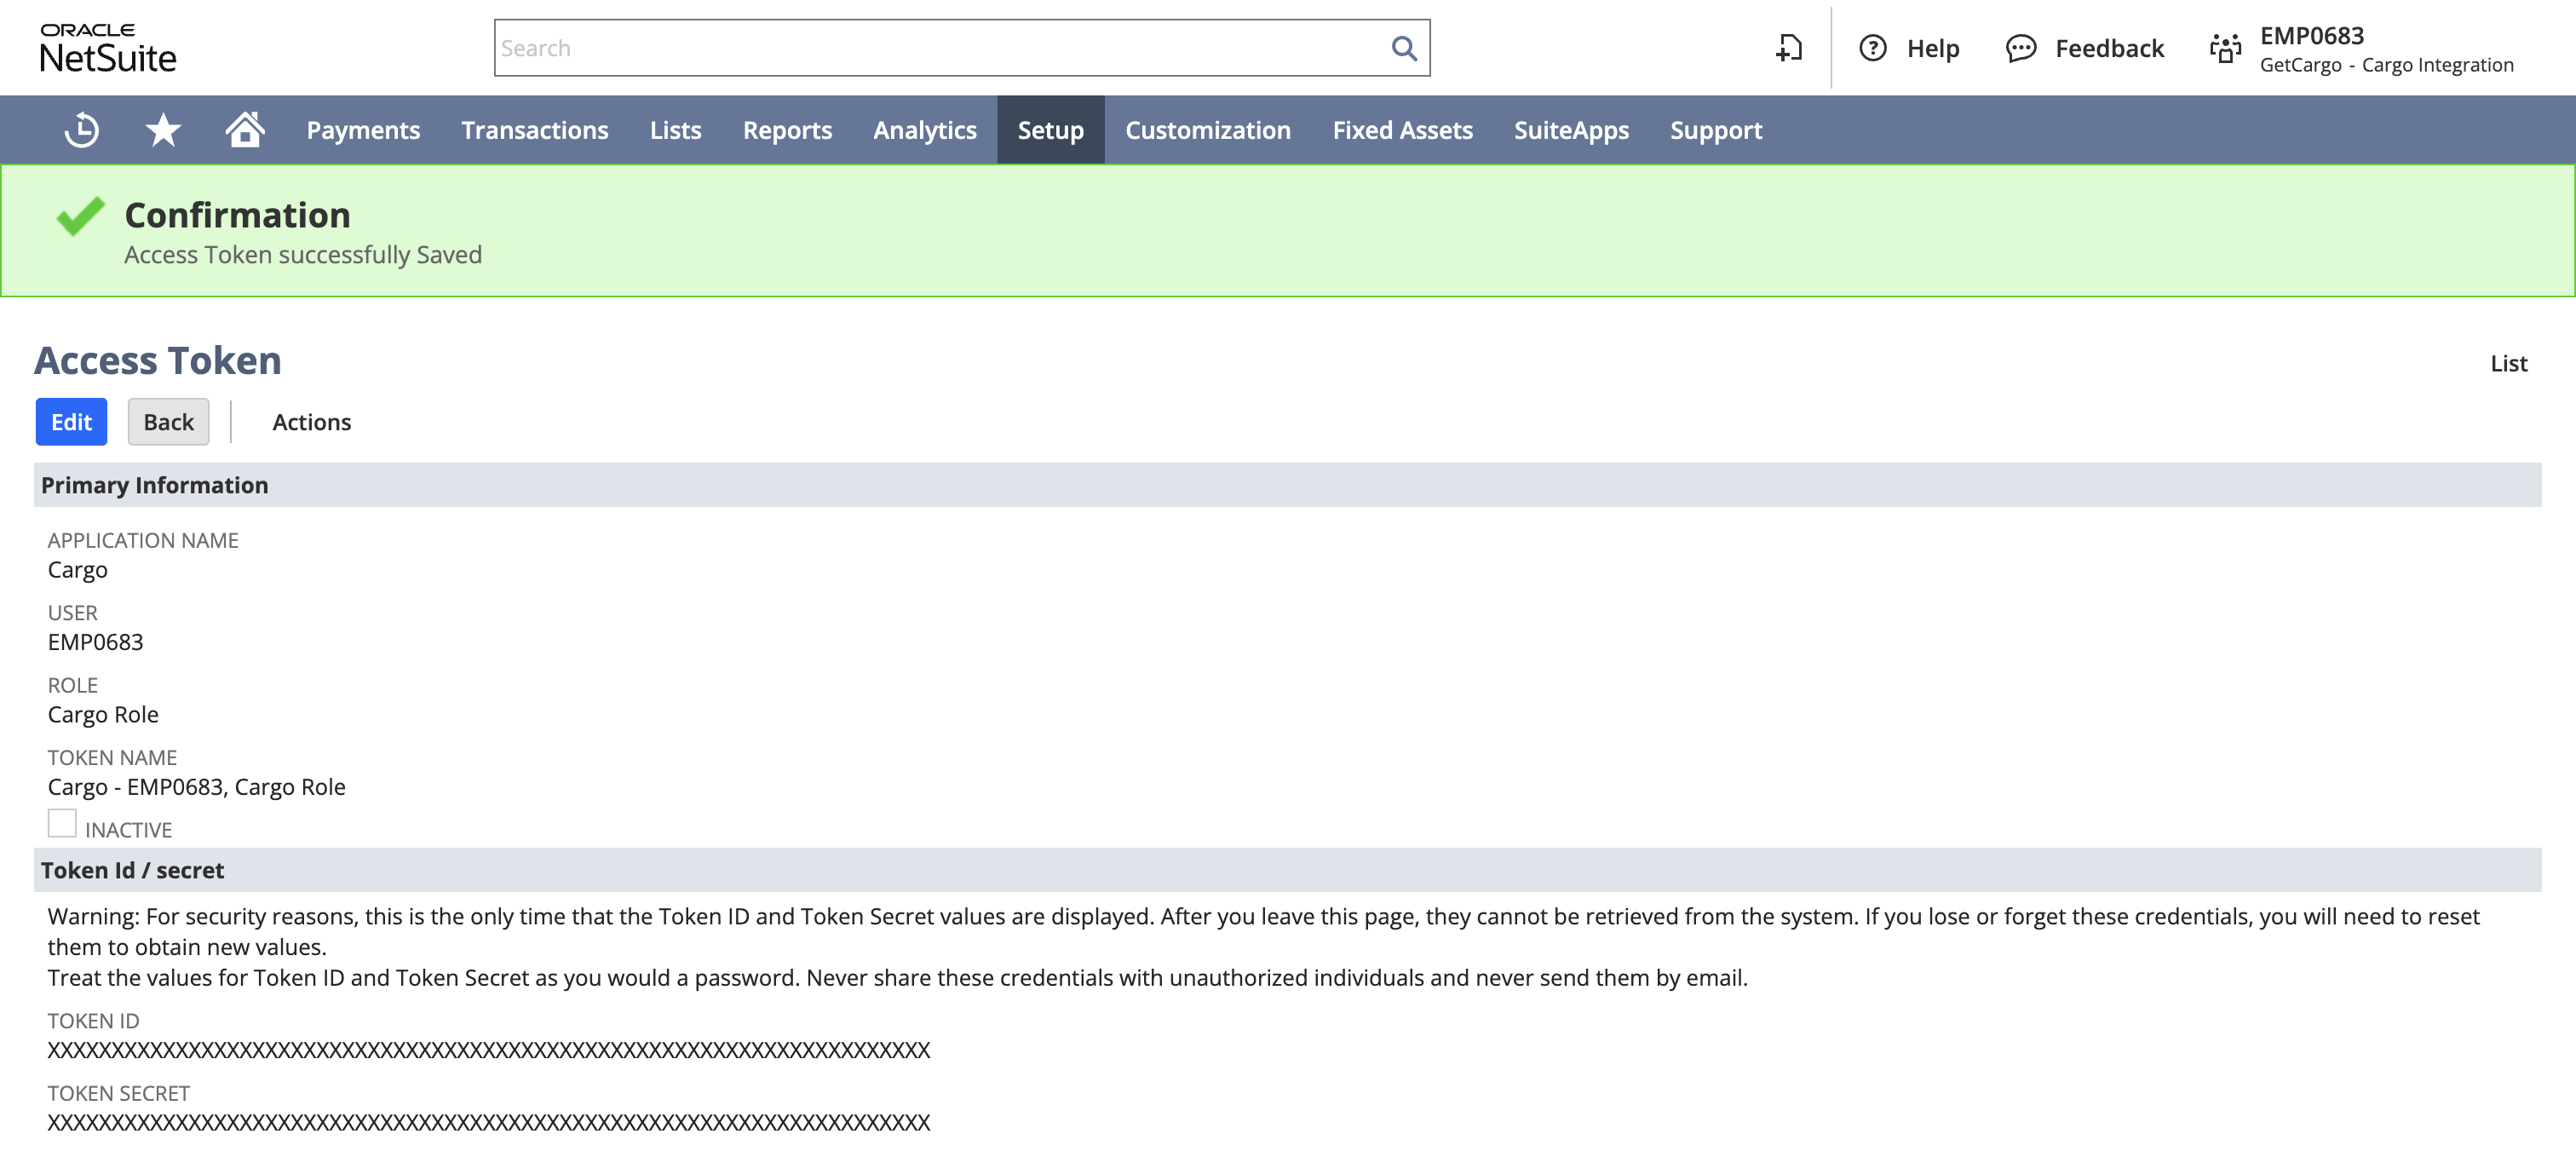
- Click save.
- Copy and store the token ID and token secret securely.
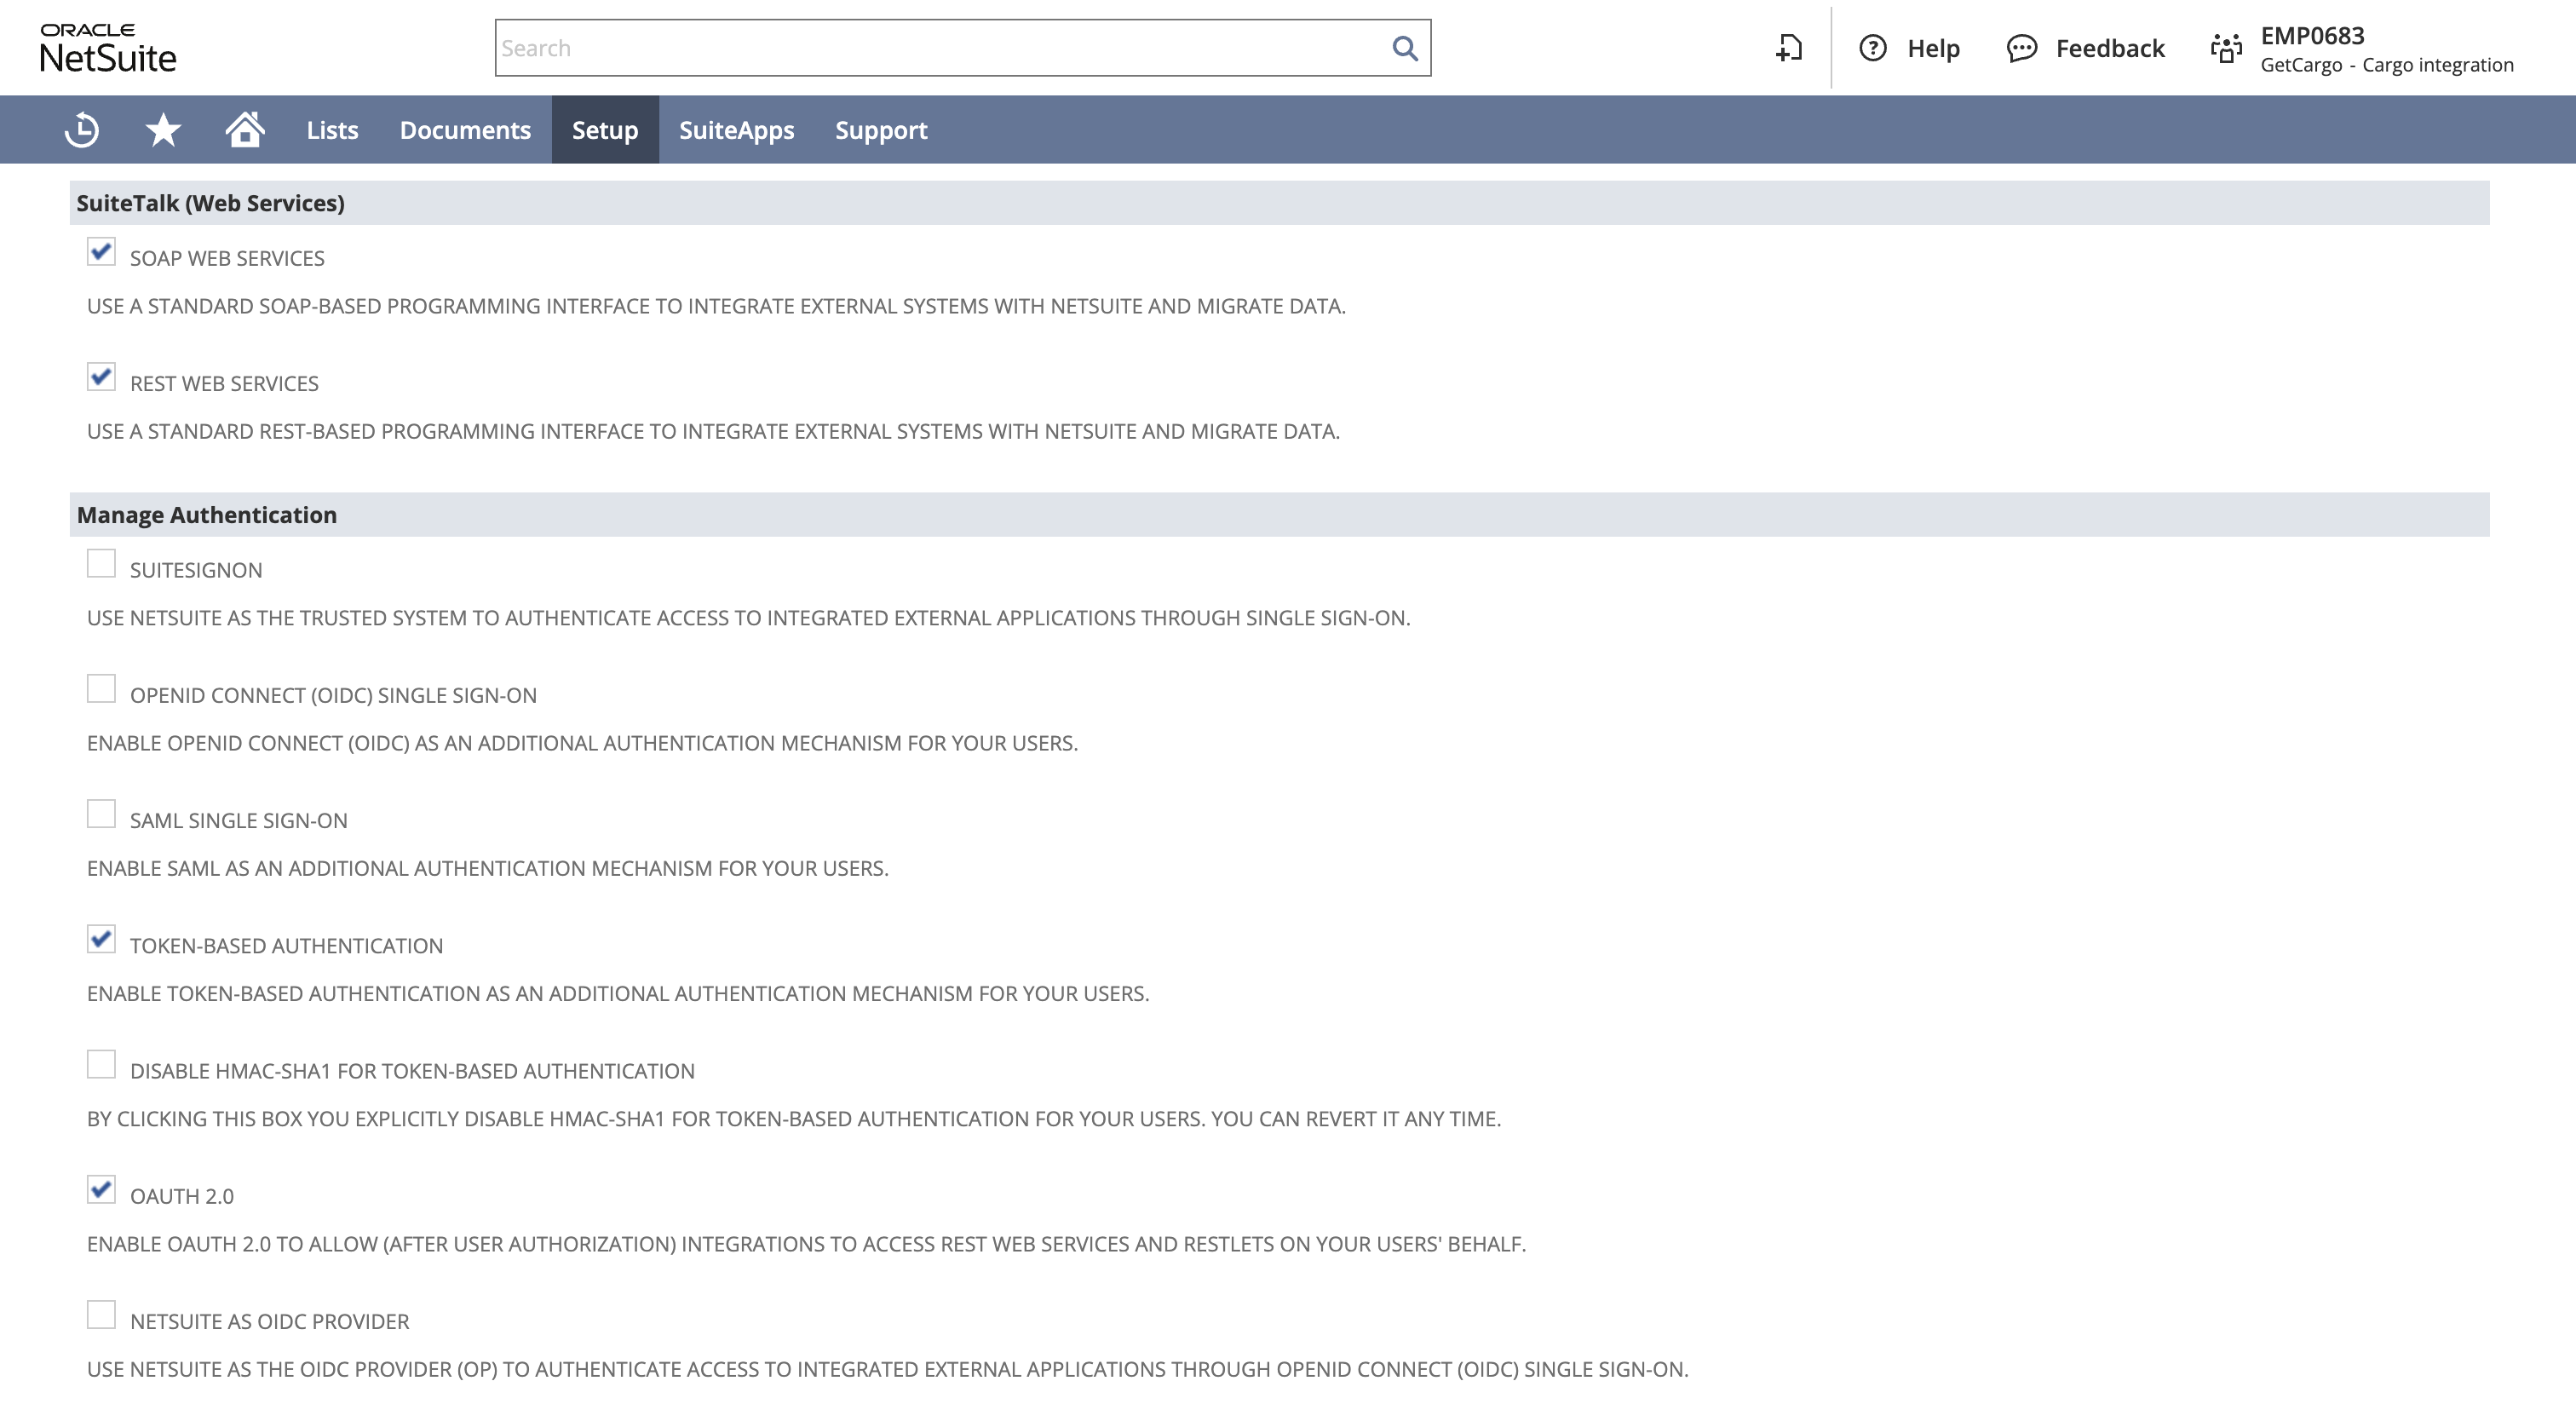
Enable REST web services
- Go to setup > company > enable features > SuiteTalk (web services).
- Enable REST web services.
- Under manage authentication, enable token based authentication
After completing these steps, you'll have set up the necessary configurations in Cargo Netsuite connector.
Actions
Search - Retrieve Netsuite object records
Retrieve data from Netsuite by selecting the object type and defining the necessary filters.
Write - Create or update Netsuite object records
Create or update records in Netsuite by selecting the object type and mapping the necessary fields.